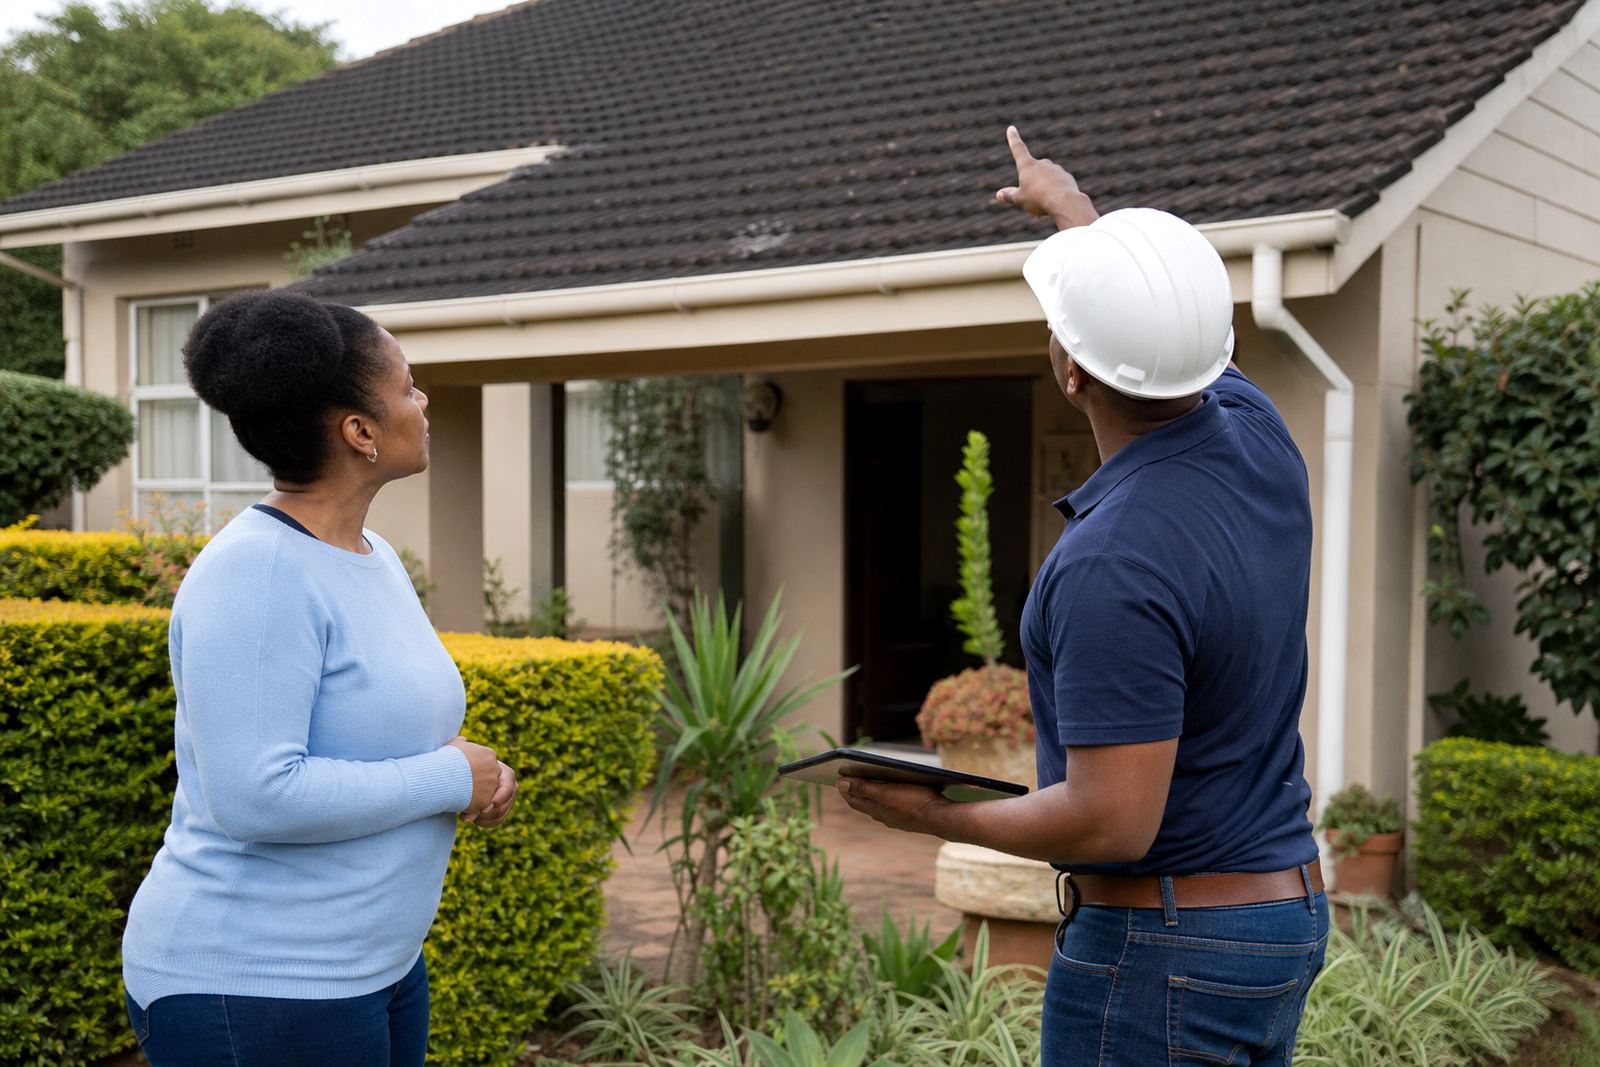
1. Check that the roof can be worked on safely
Start with the roof itself. The installer needs a structure that is sound, dry enough to work on and clear of broken tiles, loose sheets or rusted fasteners. In Pretoria, Centurion and other inland areas, heat and sudden summer storms can loosen fixings over time, while coastal humidity in places like Durban can speed up corrosion. If the roof has leaks, sagging sections or visible damage, sort those out first.
Walk the property and look for cracked tiles, damaged gutters, low-hanging branches and anything that could make access unsafe. A roof that is already struggling will only become harder to manage once panels or a water heater are added. If there is any doubt, the site assessment should flag it before installation day.
2. Clear access for the team and equipment
Good access keeps the work moving. The team needs a clear path from the gate or driveway to the roof area, plus space to carry tools, panels, mounting gear and other equipment. Remove parked cars, washing lines, loose paving, garden tools and anything else that blocks movement around the house or business premises.
- Unlock gates, side entrances and roof access points before the team arrives.
- Move vehicles out of the driveway if access will be tight.
- Keep pets inside or in a secure area.
- Trim back branches that hang over the roof or scaffold area.
- Make sure ladders can be positioned safely without soft ground or slippery paving.
If you are in a townhouse, sectional title complex or business park, check the access rules in advance. Some sites need parking approval, security sign-in or lift access for tools. Sorting this before the day prevents delays and keeps the installation within the time planned.
3. Prepare the electrical side before any equipment goes up
Solar systems need proper electrical planning. Before installation, make sure the distribution board is accessible and clearly labelled. If there are old breakers, loose wiring or overloaded circuits, those issues should be dealt with first. Electrical integration must be handled by qualified installers, not by guesswork or an unqualified hand on site.
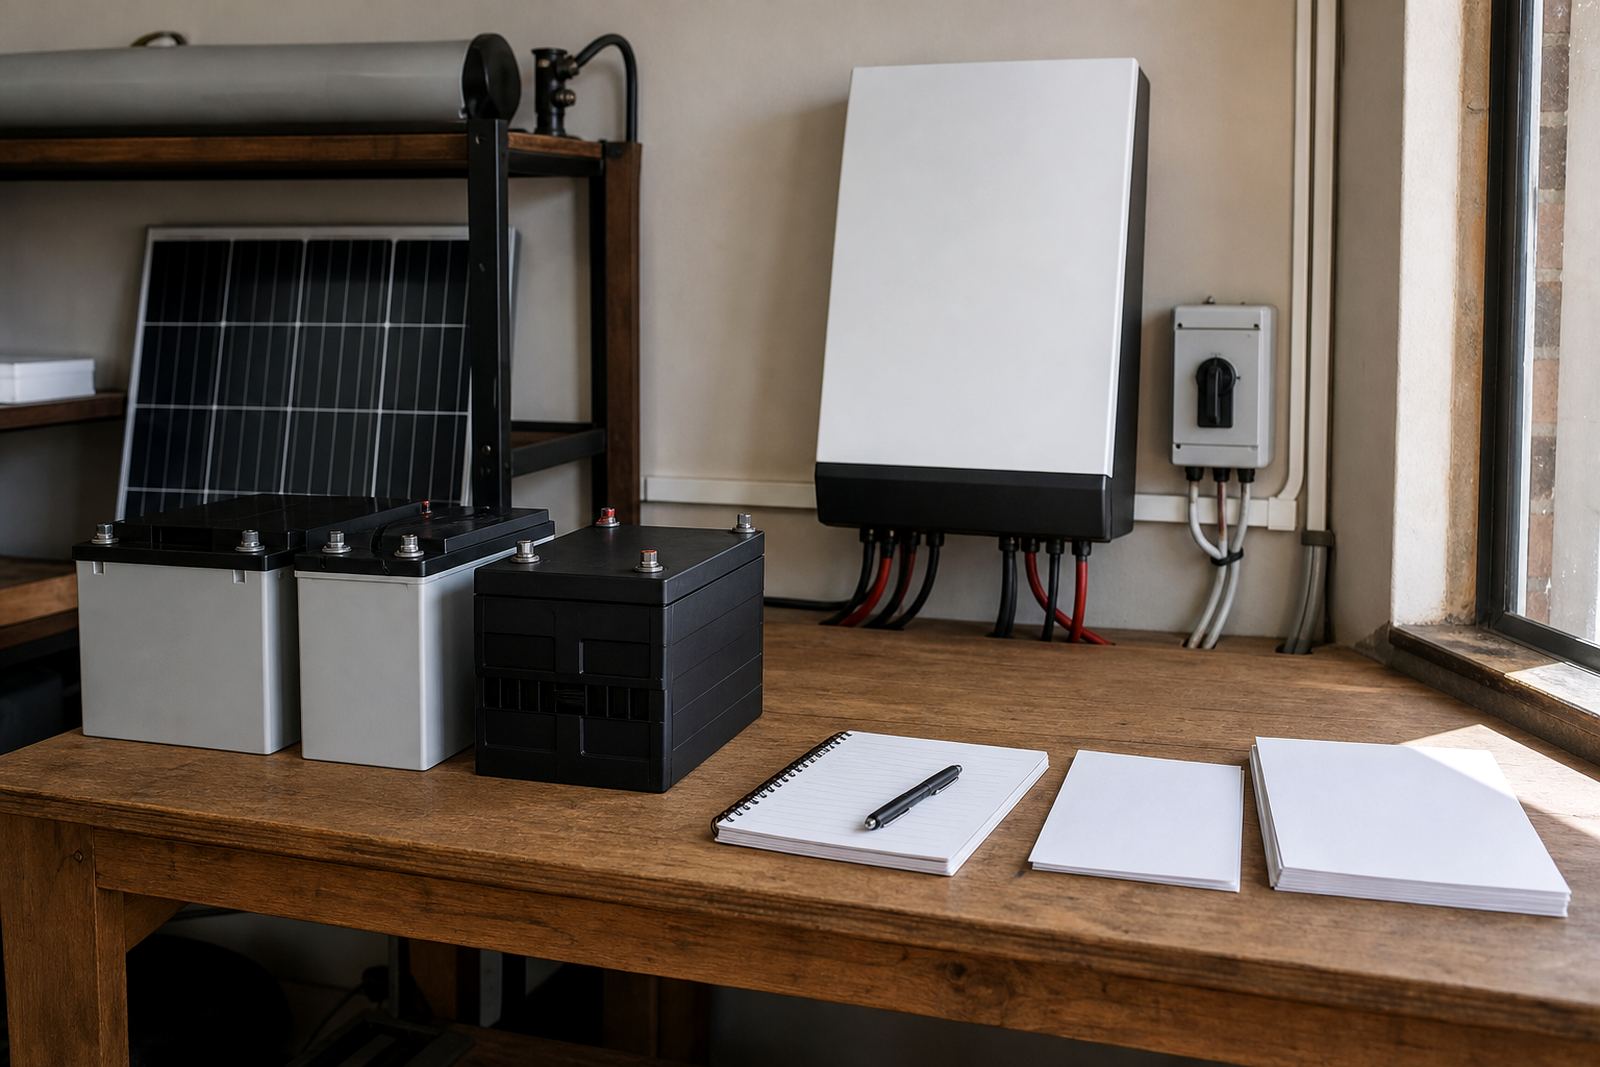
For homes and small businesses, it helps to know where the inverter, batteries and other control equipment will be mounted. Choose a dry, well ventilated place that is easy to reach for future checks. Keep the area free of stored goods, paint tins, cleaning chemicals and clutter. In coastal areas, it is also wise to avoid damp corners or places with direct salt air exposure where possible.
- Identify the main supply point and where the new equipment will connect.
- Check that the wall space for the inverter or battery bank is strong and level.
- Remove items stored around the electrical room or garage wall.
- Let the installer know about any generator, changeover switch or backup circuits already in place.
4. Decide where the panels or water heater will sit
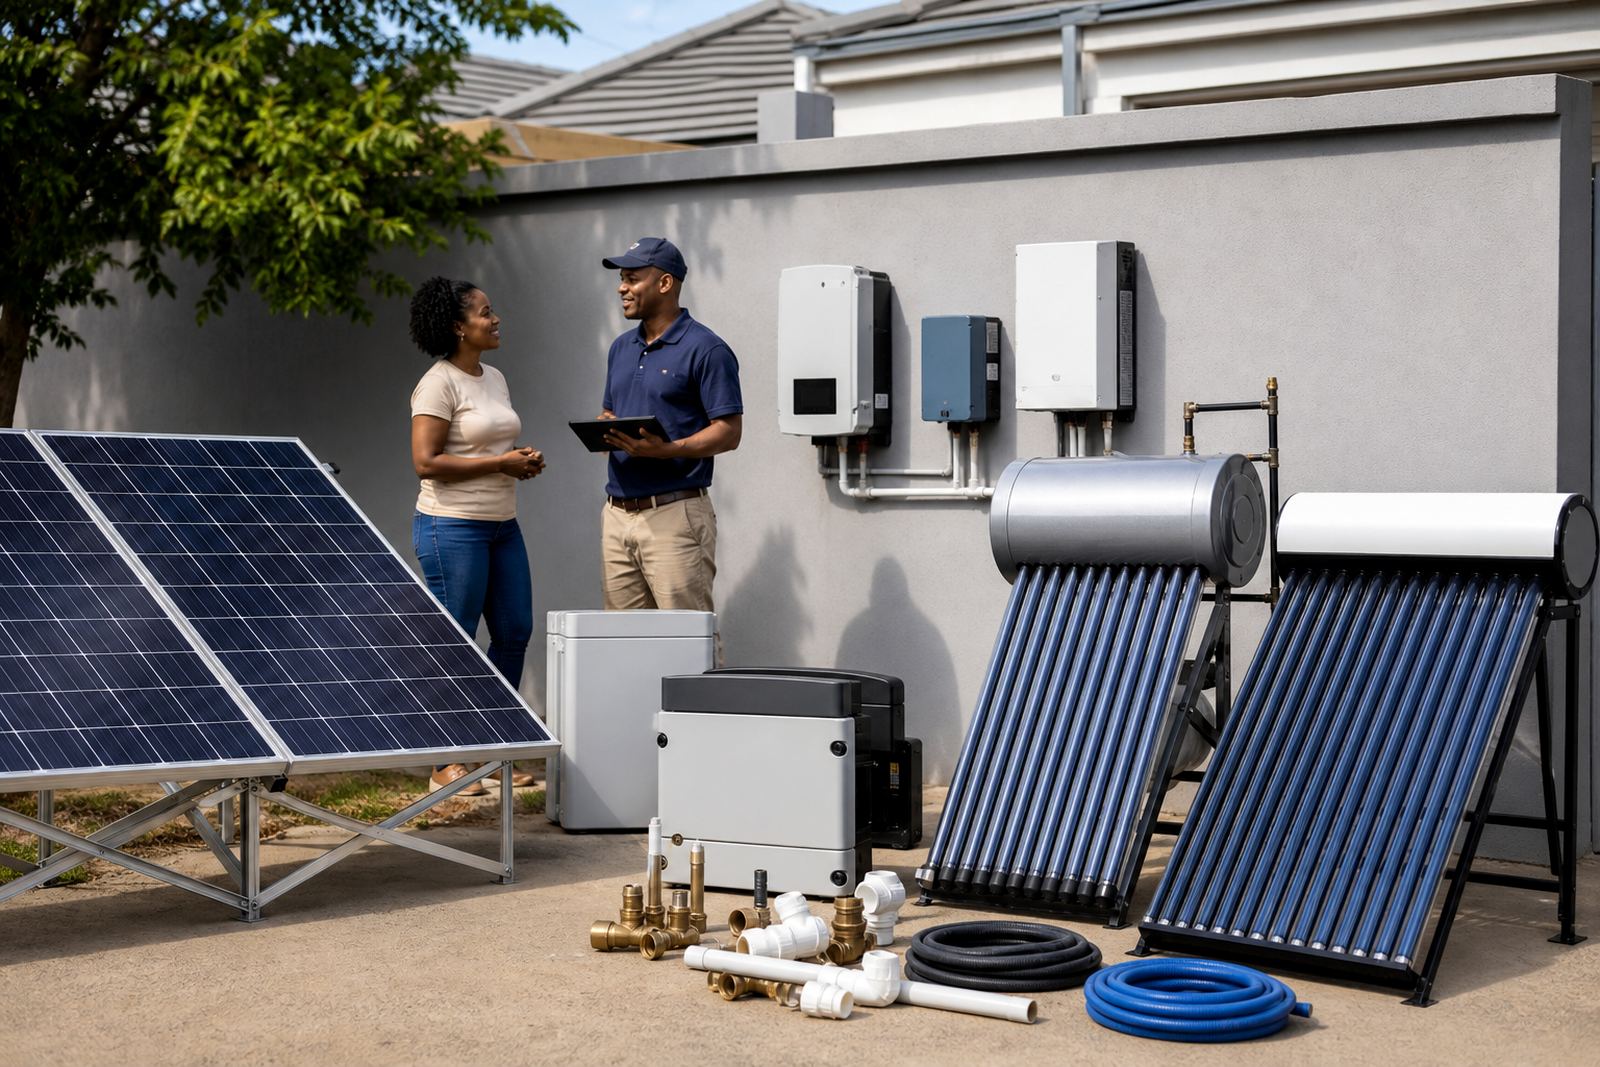
The roof layout matters. Solar panels work best when the mounting position has good sun exposure and little shade from trees, chimneys or nearby buildings. Solar water heaters also need the right position for access, pipe runs and maintenance. South African roofs vary a lot, from tiled homes in Pretoria to flat commercial roofs in Johannesburg and sheeting on small workshops in Bloemfontein, so each site needs a proper look.
Think about what may block the sun during the day and what could make servicing difficult later. If the roof has multiple slopes, skylights or older fixtures, the installer may need to adjust the layout. A clean roof line is not always possible, but the aim is to place equipment where it will do the job properly and be safe to maintain.
For water heaters, check where the hot water pipes run and whether the geyser location is easy to reach. On some properties, small changes inside the ceiling or service room may be needed to keep pipe runs short and tidy.
5. Sort permissions, body corporate rules and municipal concerns early
Before work starts, confirm whether any approvals are needed. Sectional title schemes, estates and commercial properties often have their own rules on roof access, equipment visibility and work hours. Some municipal areas may also have requirements for electrical changes or building control depending on the type of installation and where the property is located.
If you are a homeowner, keep your title deed or estate guidelines handy if they are needed for approval. If you are a business owner, let the site manager know when contractors will be on the property and where they can park. Getting this out of the way early avoids last minute problems on installation day.
It also helps to tell neighbours if equipment delivery or roof access may cause temporary noise. A simple heads-up can prevent confusion, especially in tighter Pretoria suburbs or busy Johannesburg streets where parking is limited.
6. Use this final checklist the day before installation
The day before, do one last walk-through. The goal is not to do the installer’s job, only to make the site ready and easy to work in. Keep the property open, clear and safe so the team can focus on the actual fitting and commissioning.
- Roof area checked for visible damage or loose parts.
- Driveway and paths clear for vehicle access.
- Pets secured and children kept away from the work zone.
- Electrical room or garage wall cleared for equipment placement.
- Any approvals, site rules or access codes shared in advance.
- Water access available if the project includes a solar water heater.
- Contact person on site or reachable through the enquiry form.
If weather turns wet, windy or unsafe, installation may need to be rescheduled. That is normal and it is better to wait than force a rushed job. A prepared site makes the day smoother and helps the system get installed properly the first time.